
Paint Your Way to a Transformed Room Without Overspending
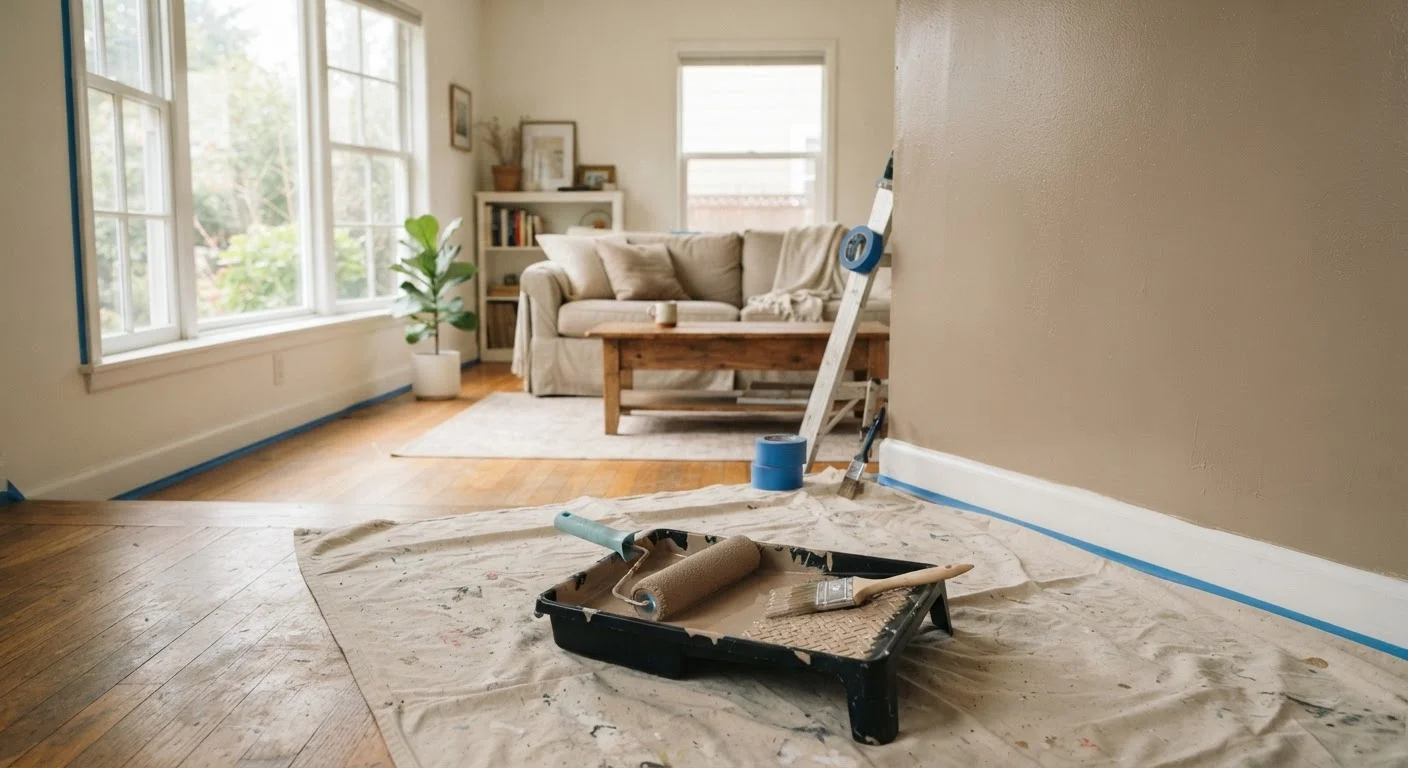
Photo credit: advancesimple.com
In this article
Practical painting techniques, prep steps, and material choices that help American families refresh any room on a tight budget.
Key Takeaways
- Thorough prep work prevents costly rework and is the most important phase of any paint job.
- Buying the right quantity of paint upfront avoids expensive color-match returns and waste.
- Primer is worth the cost when painting over dark colors, stains, or bare drywall.
- Quality brushes and rollers, cleaned and stored properly, can be reused across multiple projects.
- A single accent wall can deliver a dramatic visual change for a fraction of the full-room cost.
Why painting is one of the best-value home projects
Among all home improvement tasks, painting a room delivers one of the highest returns for the time and money spent. A gallon of interior latex paint covers roughly 350 to 400 square feet of wall surface, and a full room refresh typically costs a fraction of what flooring, cabinetry, or fixture upgrades run. The catch is that corners cut during preparation and material selection tend to produce results that need redoing sooner, which cancels out any initial savings.
This guide walks through a repeatable process that keeps costs down without producing work you will want to redo in two years. For a broader look at which budget renovation ideas actually hold up, see our breakdown of common budget renovation myths that end up costing homeowners more.
Buy a sample before committing
Paint color on a chip looks different under store lighting than on a full wall at home. Purchase a small sample size and brush a 12-by-12-inch patch directly onto the wall you plan to paint. Observe it at different times of day before buying full quantities. This small upfront cost prevents an expensive full repaint in a color that does not work in the actual space.
What you need before you start
Gathering the right materials before opening a can saves multiple trips and impulse purchases at the hardware store. Calculate your square footage first: measure the perimeter of the room, multiply by ceiling height, then subtract roughly 20 square feet for each standard door and 15 square feet for each window. Divide the total by 350 to get the number of gallons needed for one coat, then add one gallon as a buffer for touch-ups.
What you will need
Interior latex paint
The primary coating applied to walls; choose a sheen appropriate to the room (flat for low-traffic areas, eggshell or satin for kitchens and bathrooms).
Primer
Seals porous or stained surfaces and improves coverage, reducing the number of finish coats needed.
9-inch roller frame and roller covers
Applies paint quickly and evenly to large wall surfaces; a 3/8-inch nap cover works for smooth drywall.
2-inch angled brush
Used to cut in paint along edges, corners, trim, and ceiling lines where a roller cannot reach.
Painter's tape
Masks trim, outlets, and ceiling edges to keep lines clean without requiring a perfectly steady hand.
Drop cloths
Protects floors and furniture from drips and spills during painting.
Spackle or lightweight joint compound
Fills nail holes, dents, and minor cracks in the wall before painting to produce a smooth final surface.
Sanding sponge (medium grit)
Smooths patched areas and scuffs glossy existing paint so new paint adheres properly.
Step-by-step instructions
Follow these steps in order. Skipping or compressing the prep steps is the most common reason a budget paint job looks unprofessional or peels within a year.
Clear and protect the room
Move furniture to the center of the room and cover it with drop cloths. Lay additional drop cloths along the perimeter of the floor, overlapping at corners so drips cannot reach the floor surface. Remove outlet covers and switch plates and store the screws in a small bag so nothing gets lost.
Repair wall imperfections
Press spackle into nail holes and dents with a putty knife, overfilling slightly. Allow it to dry fully according to the product label, then sand flush with a medium-grit sanding sponge. For cracks wider than a hairline, use joint compound in thin layers, letting each layer dry before adding the next. Wipe all sanded areas with a slightly damp cloth to remove dust before moving on.
Clean the walls
Wipe walls with a damp sponge to remove dust, grease, and residue. In kitchens, a diluted dish soap solution removes cooking grease that would otherwise prevent paint adhesion. Allow walls to dry completely before proceeding. Clean walls are the single biggest factor in how long paint adhesion lasts.
Apply primer where needed
Prime the entire wall surface if you are painting over a dark color, bare drywall, or a stained surface. If the existing paint is in good condition and your new color is similar in value, spot-prime only the repaired areas. Apply primer with the same roller and brush technique you will use for the finish coat, and allow it to cure fully before painting.
Tape edges and cut in
Apply painter's tape along ceiling lines, baseboards, window and door trim, and any surface you are not painting. Press the tape edge firmly with a putty knife or your fingernail to prevent paint from bleeding underneath. Load your angled brush and cut in a 2- to 3-inch band along all edges before rolling the main wall area. Cut in one wall at a time so the brushed edge is still wet when you roll, which blends the two applications and prevents a visible seam.
Roll the walls
Load the roller by rolling it through the paint tray reservoir and then back and forth on the ridged slope to distribute paint evenly. Apply paint in a W or M pattern across a 3- to 4-foot section of wall, then fill in the pattern without lifting the roller. Work from the top of the wall downward. Maintain a wet edge by overlapping each new section with the previous one before it dries.
Apply a second coat and clean up
Allow the first coat to dry according to the paint label (usually 2 to 4 hours for latex paint at normal indoor temperature and humidity). Apply the second coat using the same cut-in and roll sequence. Once the second coat is applied and while it is still slightly tacky, remove painter's tape at a 45-degree angle. Clean brushes with warm soapy water for latex paint and store them flat or hanging (not resting on the bristles). Seal leftover paint and label the can before storing.
Stretching your paint budget further
Color choice affects cost directly. Deep, saturated colors often require more coats to achieve full coverage, which means more paint purchased. Lighter and mid-tone colors typically cover in two coats over a properly primed surface. If you want a dramatic look on a tight budget, consider painting a single accent wall in a bold color while keeping the remaining three walls in a lighter, complementary shade. You can achieve significant visual impact for roughly one-quarter of the full-room paint cost.
Leftover paint stored in an airtight container in a climate-stable space (not a garage that freezes in winter) stays usable for years and handles scuffs and touch-ups without requiring a new purchase. Label the can with the room name, the color code, and the brand so you can match it precisely later.
Budget painting fits neatly within a broader household savings approach. If you are building other cost-saving habits alongside home projects, the practical starting point for frugal living covers the mindset shifts and routines that make intentional spending sustainable over time. For exterior curb appeal on a similar budget, low-cost landscaping strategies offer comparable value for outdoor spaces.

Author
Home on a Budget Editorial Team
Home on a Budget Editorial Team is the collective byline for our editorial team and contributor network. Articles published under this byline or an editorial pen name are researched, written, and reviewed according to our editorial standards for clarity, consistency, and independence before publication.
View all articles →