
Composting at Home: Turning Kitchen Scraps into Free Garden Soil
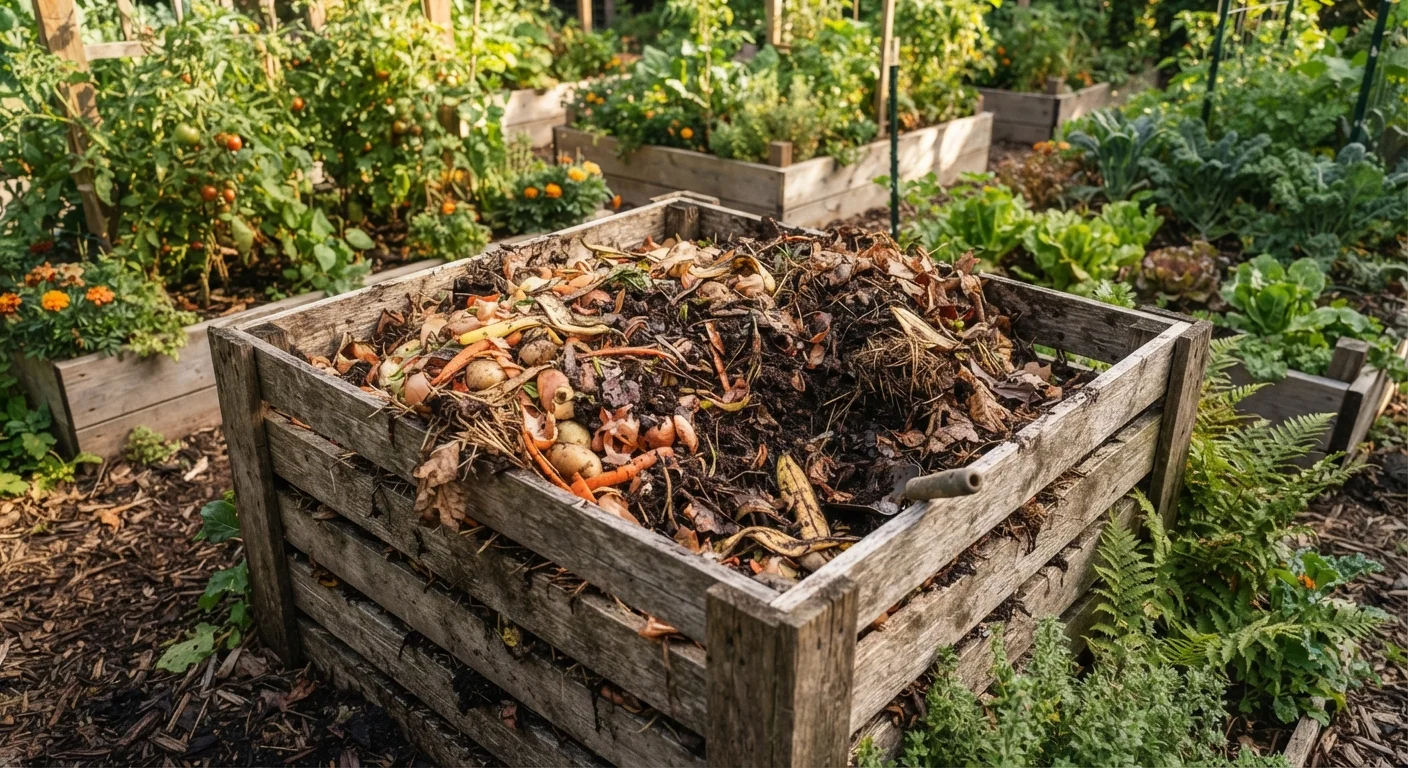
Photo credit: advancesimple.com
In this article
A step-by-step guide to building a basic compost system using food and yard waste, no special equipment required.
Key Takeaways
- Composting requires no special equipment; a simple pile or bin in a corner of your yard works.
- The right mix of green and brown materials keeps a compost pile working without bad odors.
- Finished compost can replace purchased soil amendments, reducing garden spending over time.
- Most kitchen scraps and yard waste break down into usable compost within two to six months.
- Turning the pile regularly speeds decomposition and prevents common problems like pests.
What composting actually does for your garden
Finished compost improves soil in two ways. It adds organic matter that helps sandy soils hold moisture and helps clay soils drain better. It also introduces a steady, slow-release supply of nutrients that plants can draw on over an entire growing season. Unlike synthetic fertilizers, compost does not burn plant roots when applied generously, and it supports the soil microbes that make nutrients available in the first place.
For families working on a garden budget, compost is about cost avoidance. Bagged compost and soil amendments add up quickly over multiple growing seasons. Making your own converts material you would otherwise throw away into something your garden needs. If you are also starting a vegetable garden on a tight budget, homemade compost can meaningfully cut your input costs from the first season.
Compost also fits well into broader yard improvement work. Whether you are improving your lawn, planting new beds, or working on low-cost curb appeal improvements, finished compost is a versatile soil builder you can use almost anywhere outdoors.
Shovel or pitchfork
Turns and aerates the compost pile to speed up decomposition.
Compost bin or wire cage
Contains the pile, helps retain heat, and discourages pests. A simple wire cage made from hardware cloth works as well as a purchased bin.
Small kitchen scrap container
Collects food scraps on the counter between trips to the outdoor pile.
Garden hose or watering can
Adds moisture to the pile when it dries out.
Setting up and running your compost system
The steps below cover building and maintaining a basic hot compost pile, which is the most common approach for home use. It works in most US climates, requires no purchased inputs, and produces usable compost faster than cold composting (simply leaving a pile to break down on its own). If you have limited outdoor space, a compact bin on a patio can also work, though a smaller volume means the pile may not heat up as much and will take longer to finish.
Choose your composting spot and method
Pick a level spot with partial shade if possible. Full sun dries a pile out quickly; deep shade slows it down. A space roughly three feet by three feet is enough to start. You can compost directly in an open pile, inside a simple wire cage, or in a lidded bin. All three work. The choice depends on how much yard space you have and whether pests are a concern in your area.
Gather your green and brown materials
Compost needs two types of material. Greens provide nitrogen: fruit and vegetable scraps, coffee grounds, fresh grass clippings, and tea bags without staples all qualify. Browns provide carbon: dried leaves, shredded cardboard, newspaper, and plain paper bags. Aim for roughly two to three parts brown material to one part green by volume. This ratio keeps decomposition moving and prevents the pile from smelling sour.
Materials to avoid: meat, fish, dairy, oily foods, and pet waste. These attract pests or carry pathogens that typical backyard composting temperatures cannot reliably neutralize.
Build the initial pile
Start with a four-to-six-inch layer of coarse browns at the bottom, such as small twigs or straw. This layer helps air move up from underneath. Add a layer of greens on top, then another layer of browns. Repeat until the pile is at least three feet tall, which is the minimum mass needed to generate the heat that speeds decomposition. Water each layer lightly as you build so the pile feels damp but not soggy, about the moisture level of a wrung-out sponge.
Turn the pile regularly
Use a pitchfork or shovel to turn the pile every one to two weeks. Move material from the outside edges into the center, where temperatures are highest. Turning adds oxygen, which the microorganisms breaking down your scraps need to work efficiently. Without regular turning, decomposition still happens but takes much longer, often a year or more compared to two to six months with active management.
Add new scraps over time
Keep a small container on your kitchen counter to collect scraps between trips outside. When you add new green material to the pile, always cover it with a layer of browns. This buries food waste so it is less visible and less attractive to animals. Continue adding and turning until your original material is no longer recognizable and the pile has shrunk significantly in volume.
Harvest and use finished compost
Finished compost looks and smells like dark, crumbly soil. It should not have any recognizable food pieces. When most of your pile has reached this stage, stop adding new material and let the remainder finish breaking down. Sift the finished compost through a piece of hardware cloth or an old window screen to remove any large unfinished chunks, then return those chunks to a new pile. Spread the finished compost two to three inches deep in garden beds, or mix it into potting containers. For more on how homemade compost stacks up against purchased amendments, see why cheap soil amendments often outperform expensive fertilizers.
Once you have a steady composting habit, you may find you have more finished material than one garden needs. Compost stores well covered, or you can share it with neighbors or use it in containers. If you grow plants in pots, homemade compost blended into potting mix can stretch your container gardening budget; see container gardening in small spaces for guidance on container soil needs.
Common problems and how to fix them
A pile that smells like ammonia usually has too many greens. Add browns and turn. A pile that is not heating up may be too dry, too small, or short on nitrogen-rich greens. Water it, add some fresh kitchen scraps, and turn to reintroduce oxygen. A pile that attracts animals almost always has exposed food waste. Burying scraps under browns and using a lidded bin solves most pest problems.
Slow decomposition in winter is normal. Microbial activity slows when temperatures drop below freezing, but the pile resumes once things warm up. You can insulate the pile with straw bales in colder climates if you want to keep it working through winter. There is no harm in letting it pause and restart naturally.
Getting more plants into your yard goes hand in hand with improving your soil. Once your compost is ready, free and low-cost ways to get more plants can help you fill beds without spending at the nursery.

Author
Budget Garden & Yard Editorial Team
Budget Garden & Yard Editorial Team is the collective byline for our editorial team and contributor network. Articles published under this byline or an editorial pen name are researched, written, and reviewed according to our editorial standards for clarity, consistency, and independence before publication.
View all articles →