
Why Your New Plants Keep Dying in the First Month
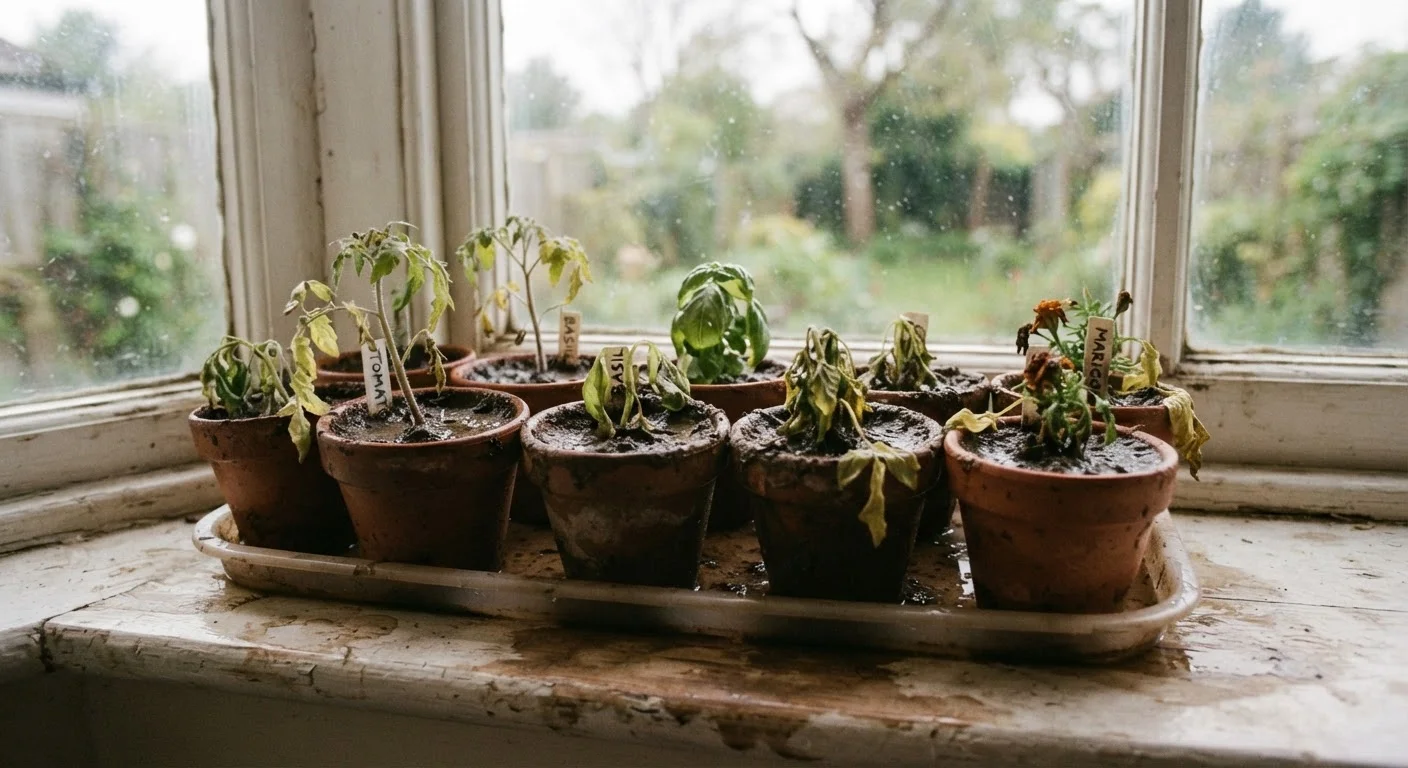
Photo credit: advancesimple.com
Overwatering, poor placement, and skipping hardening off are among the most common reasons beginner gardens fail early on.
Key Takeaways
- Overwatering is the single most common cause of new plant death in the first month.
- Plants bought at a nursery need a gradual transition before going outdoors permanently.
- Soil quality and drainage matter more than most beginners expect.
- Matching a plant to its actual light conditions prevents most placement failures.
- Skipping the plant label instructions is a frequent and costly beginner error.
The first month is the hardest stretch
Buying a new plant feels like a fresh start. Then, within a few weeks, the leaves yellow, the stems go limp, and the whole thing collapses. For many families getting into gardening, this cycle repeats itself until the hobby starts to feel pointless or too expensive to maintain.
The good news is that most early plant deaths share a short list of causes, and nearly all of them are avoidable once you know what to look for. If you are also trying to grow food on a tight budget, our guide on starting a vegetable garden on almost no budget covers the fundamentals that pair well with avoiding these mistakes.
Overwatering from the start
Why it happens: New gardeners often treat watering as attentive care, so more feels like more love. Soggy soil cuts off oxygen to the roots, which causes the same wilting symptoms as underwatering, making the problem hard to self-diagnose.
Skipping hardening off for outdoor transplants
Why it happens: Plants grown in a greenhouse or indoors are not used to direct sun, wind, or temperature swings. Beginners often move them outside permanently on the first warm day, which shocks the plant.
Planting in the wrong light conditions
Why it happens: A spot may look bright or shady depending on the time of day you check it. Many beginners assess light once and plant based on that single impression.
Using poor or wrong soil
Why it happens: Grabbing a bag of generic potting mix or using straight garden soil in containers seems reasonable, but different plants need different drainage and nutrient profiles. Garden soil compacts heavily in pots and can suffocate roots.
Ignoring the plant label
Why it happens: Labels feel like boilerplate packaging, and many beginners discard them right away. The label contains the exact spacing, watering, sun, and hardiness information the plant needs to survive.
Transplanting without addressing root bound or root damaged plants
Why it happens: Nursery plants sometimes sit in containers too long and become root bound, with roots circling tightly around the bottom. Beginners often plant them as-is, which can prevent the roots from spreading into surrounding soil.
What to do after you catch these mistakes
Most plants that are struggling, but not yet dead, can recover if you act quickly. Pull the plant from the pot and check the roots. White or tan roots are healthy. Brown, mushy roots point to rot from overwatering. Trim the damaged roots with clean scissors, repot in fresh dry mix, and ease off watering for a week or two.
For placement problems, moving a plant to a better spot is usually enough. Outdoor plants that were not hardened off may need a few weeks of gradual sun exposure before they stabilize. Container gardeners face a specific challenge here since pots dry out faster than ground soil. Our article on container gardening in small spaces covers the real tradeoffs involved.
Do not repot a stressed plant into a much larger container
It can feel helpful to give a struggling plant more room, but moving a small or weakened plant into an oversized pot often makes things worse. Excess soil holds moisture the roots cannot absorb, which increases the risk of root rot. Choose a pot only one size larger than the current one when repotting a recovering plant.
If you have lost plants and want to rebuild your garden without spending much, free and low-cost ways to get more plants walks through division, cuttings, and community swaps that cost little or nothing.
Choosing plants suited to your region also cuts losses significantly. Understanding your USDA hardiness zone and what it means helps you avoid buying plants that cannot survive your winters, which is one of the quieter budget drains in home gardening.

Author
Budget Garden & Yard Editorial Team
Budget Garden & Yard Editorial Team is the collective byline for our editorial team and contributor network. Articles published under this byline or an editorial pen name are researched, written, and reviewed according to our editorial standards for clarity, consistency, and independence before publication.
View all articles →