
Why Cheap Caulk and Weatherstripping Pay for Themselves Quickly
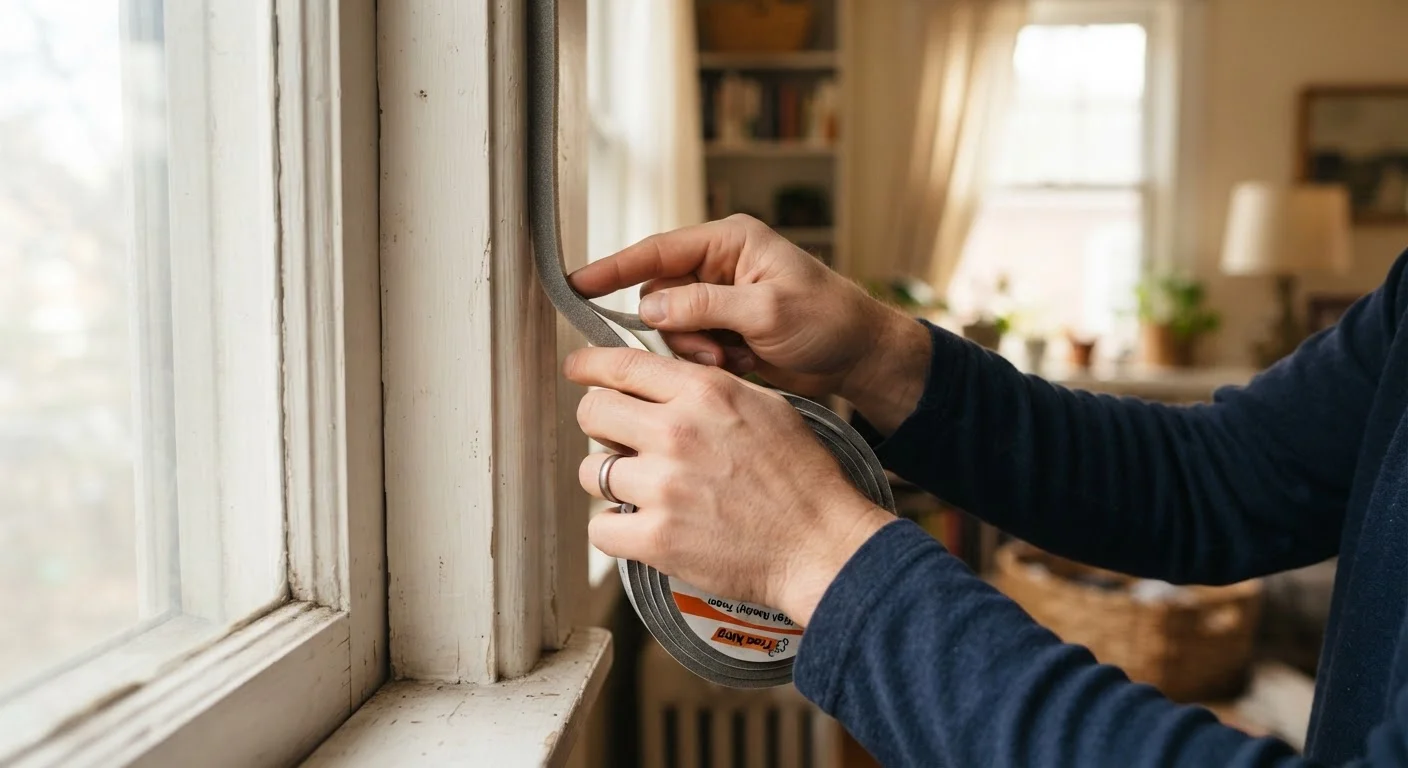
Photo credit: advancesimple.com
In this article
Small air leaks silently inflate utility bills. Learn how sealing gaps around windows and doors cuts energy waste at minimal cost.
Key Takeaways
- Air leaks around windows and doors can account for a significant share of annual heating and cooling costs.
- Caulk seals stationary gaps in framing and trim; weatherstripping seals movable gaps around doors and operable windows.
- Materials for a complete door or window seal typically cost between $5 and $20 per opening.
- Payback periods for basic air sealing are often measured in months, not years.
- Proper surface preparation determines how long a seal holds, so cleaning and drying surfaces before applying matters.
Where your heating and cooling money actually goes
When a utility bill arrives higher than expected, most households look at appliances or thermostat habits. The likelier culprit is often invisible: small gaps around window frames, door edges, and the joints where trim meets wall. Air moves through pressure differences, and even a 1/8-inch gap around a door frame can transmit a surprising volume of conditioned air over a 24-hour period.
The U.S. Department of Energy places air leaks among the largest single sources of heating and cooling loss in American homes, with estimates ranging from 25 to 40 percent of total energy use for climate control. A home with several unsealed windows and a poorly sealed exterior door can lose more conditioned air through gaps than through the walls themselves. Those losses appear directly on the monthly bill.
This is the context that makes caulk and weatherstripping worth attention. Neither product is exciting, and neither costs much. What matters is what they prevent year after year. See common overlooked household costs for related patterns that compound energy waste.
Caulk vs. weatherstripping: which gap needs which solution
The distinction is straightforward. Caulk is for stationary joints: the seam where a window frame meets exterior siding, where interior trim meets drywall, or where a threshold meets a floor. It cures into a flexible solid and holds its shape because nothing moves across it.
Weatherstripping is for movable parts. A door sash compresses the weatherstripping each time it closes, then releases it when it opens. The same applies to casement or double-hung windows. The right material for this job must spring back reliably after thousands of compression cycles. Common options include self-adhesive foam tape (lowest cost, shortest life), V-strip or tension seal (longer life, better for side gaps), and door sweeps or door shoes for the bottom gap.
Using caulk where weatherstripping belongs, or vice versa, shortens the life of the repair. Caulk around a door stop will crack within months because the door movement stresses it continuously. Foam tape on a stationary window-to-siding joint will compress permanently and lose its seal faster than caulk would.
Match the caulk type to the surface
Use silicone or siliconized latex caulk on exterior joints that are exposed to weather and temperature swings. Standard latex acrylic caulk is better for interior trim where paintability matters. Using the wrong type in the wrong location is one of the most common reasons a seal fails within a year or two.
For a broader look at how targeted maintenance prevents bigger expenses, seasonal home maintenance tasks covers when to inspect seals as part of an annual routine.
What the materials actually cost and how fast they pay back
A tube of paintable latex acrylic caulk runs roughly $3 to $6 at most hardware stores. Silicone caulk, which holds up better in exterior applications subject to temperature swings, typically costs $5 to $10 per tube. One tube covers most of the perimeter of two or three windows.
Weatherstripping costs vary by type. Self-adhesive foam tape for a single door runs $4 to $8. A V-strip roll sized for two doors costs $8 to $15. A door sweep for a standard exterior door is typically $10 to $20 installed with basic tools.
If sealing three exterior doors and four windows costs $40 in materials and reduces monthly heating and cooling costs by $10 to $15, the full investment is recovered in three to four months. That math holds even at modest savings estimates. Over a 5-year period before any re-application is needed, the cumulative reduction can be substantial relative to the original outlay.
25-40%
Of heating and cooling energy lost to air leaks
According to the U.S. Department of Energy, air infiltration accounts for roughly a quarter to two-fifths of a typical home's heating and cooling load.
Up to 15%
Potential reduction in heating and cooling costs
The DOE estimates that combining air sealing with adequate insulation can reduce heating and cooling costs by up to 15 percent, though actual savings depend on home age, climate, and baseline leak severity.
$3-$20
Typical cost per window or door to seal
Material costs for caulk and weatherstripping per opening are low enough that most households can address several problem areas for under $50 total.
Insulation for existing homes covers the next layer of weatherization if air sealing alone does not bring bills to a satisfying level.
How to find leaks before you buy anything
A simple hand check on a windy day locates most gaps: run a hand slowly around the perimeter of each window and exterior door. A cold draft or a visible sliver of daylight identifies the priority areas. For gaps that are harder to feel, a lit incense stick held near the frame will show air movement through smoke deflection.
Focus first on exterior doors, especially those with visible daylight visible under or around them. Then check windows that are original to a home built before 1990, since earlier seals and frames have had decades to shrink and separate. Attic hatches, basement rim joists, and utility penetrations through exterior walls can also be significant sources, but those may involve areas where professional assessment is warranted before sealing.
Once problem areas are identified, clean and dry surfaces thoroughly before applying any product. Residue, paint flakes, or moisture under caulk or adhesive tape are the most common reasons seals fail prematurely. This step costs nothing and extends product life meaningfully. Budget renovation myths covers why skipping surface prep is one of the shortcuts that consistently backfires.
Frequently Asked Questions

Author
Home on a Budget Editorial Team
Home on a Budget Editorial Team is the collective byline for our editorial team and contributor network. Articles published under this byline or an editorial pen name are researched, written, and reviewed according to our editorial standards for clarity, consistency, and independence before publication.
View all articles →